Easy Guide: How to Change Ventoys Theme
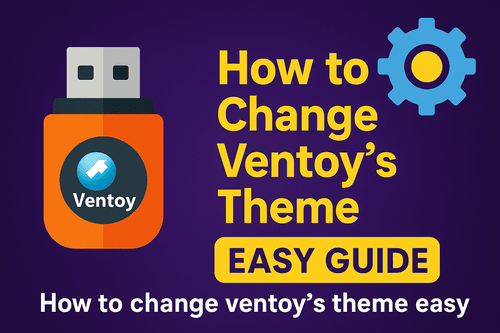
How to Change Ventoys Theme
📌 What Is This About?
Many people use a USB to install Windows or Linux on a computer.
To do that, they need to make the USB “bootable”.
Two popular tools are Rufus and Ventoy.
Ventoy is more popular. Why?
Because you can keep many ISO files in one USB.
You don’t have to delete or format the USB each time.
Today, I will show you how to change the look (theme) of Ventoy.
💡 What Is Ventoy?
Ventoy is a free tool.
It helps you run operating systems from a USB stick.
You can store many files like Windows, Linux, or Android.
When you plug in the USB and start your PC, Ventoy shows a menu.
But the menu looks very simple.
You can make it look nice by using themes.
Ventoy uses Grub2, so you can use any Grub2 theme.
🛠️ Steps to Change the Theme
✅ Step 1: Install Ventoy on USB
First, install the newest Ventoy on your USB.
(If you don’t know how, search on YouTube.)
✅ Step 2: Use the Theme Plugin
Open the folder where you installed Ventoy.
You will see a folder for plugins.
If it’s too hard, don’t worry.
Just make a folder like mine.
Then download the ventoy.json file and put it in that folder.
You don’t need to change anything else.
✅ Step 3: Download a Theme
Go to this site: gnome-look.org
Choose a theme and download it.
Then unzip the theme.
✅ Step 4: Rename the Folder
Rename the folder to amht.
That name must match the name in ventoy.json.
If the name is different, the theme will not load.
✅ Step 5: Test with MobaLiveCD
Use a tool called MobaLiveCD to test the USB.
It will show you if the theme is working or not.
🎨 Add Your Own Background?
Yes, you can add your own image as the background!
If you want to know how, comment below.
I will write another post to explain it.
❓ Need Help?
If you are confused, feel free to comment.
Thanks for reading!
Would you like more simple guides like this?
Let me know in the comments.